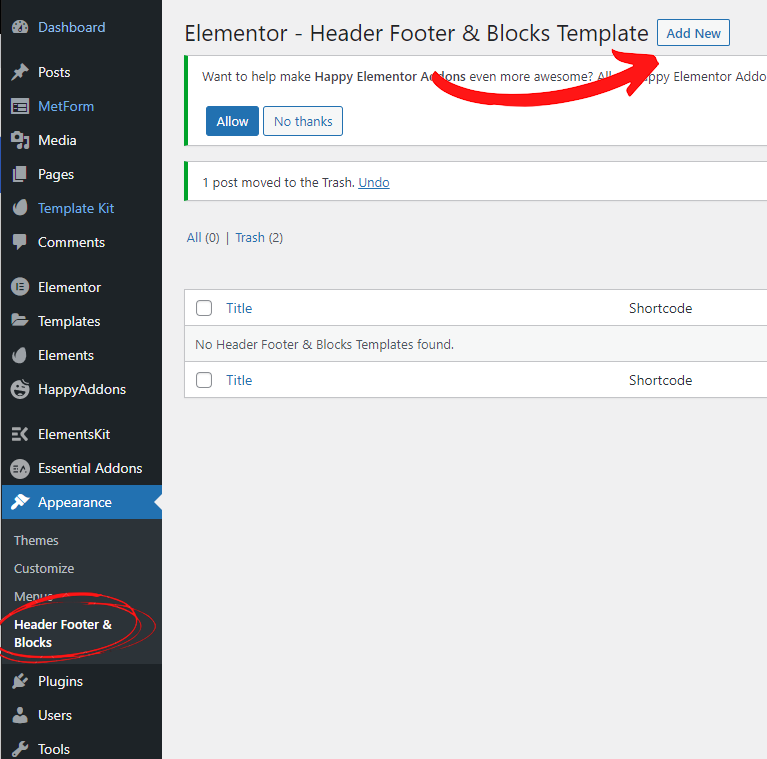
Go to your dashboard and under Appearance -click on Header Footer & Blocks. Click on Add New and create a template named Post Header.
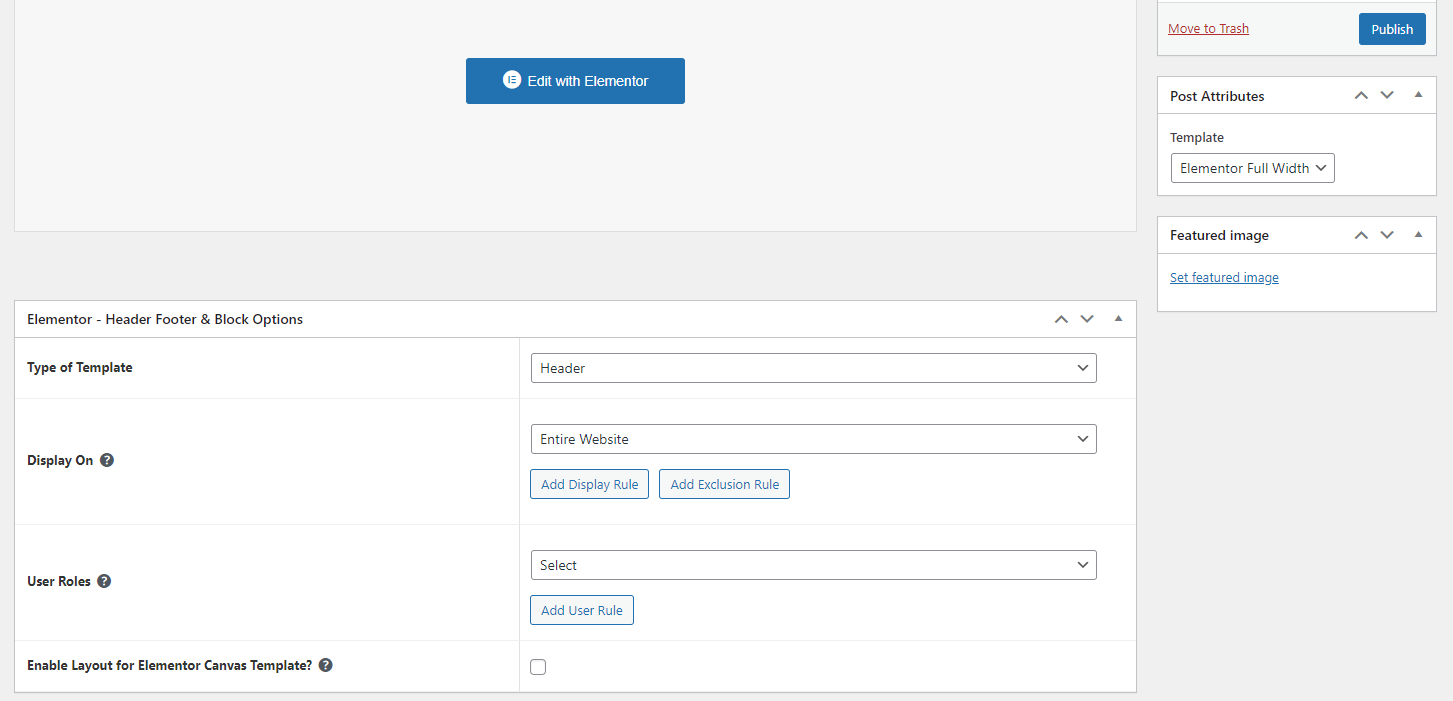
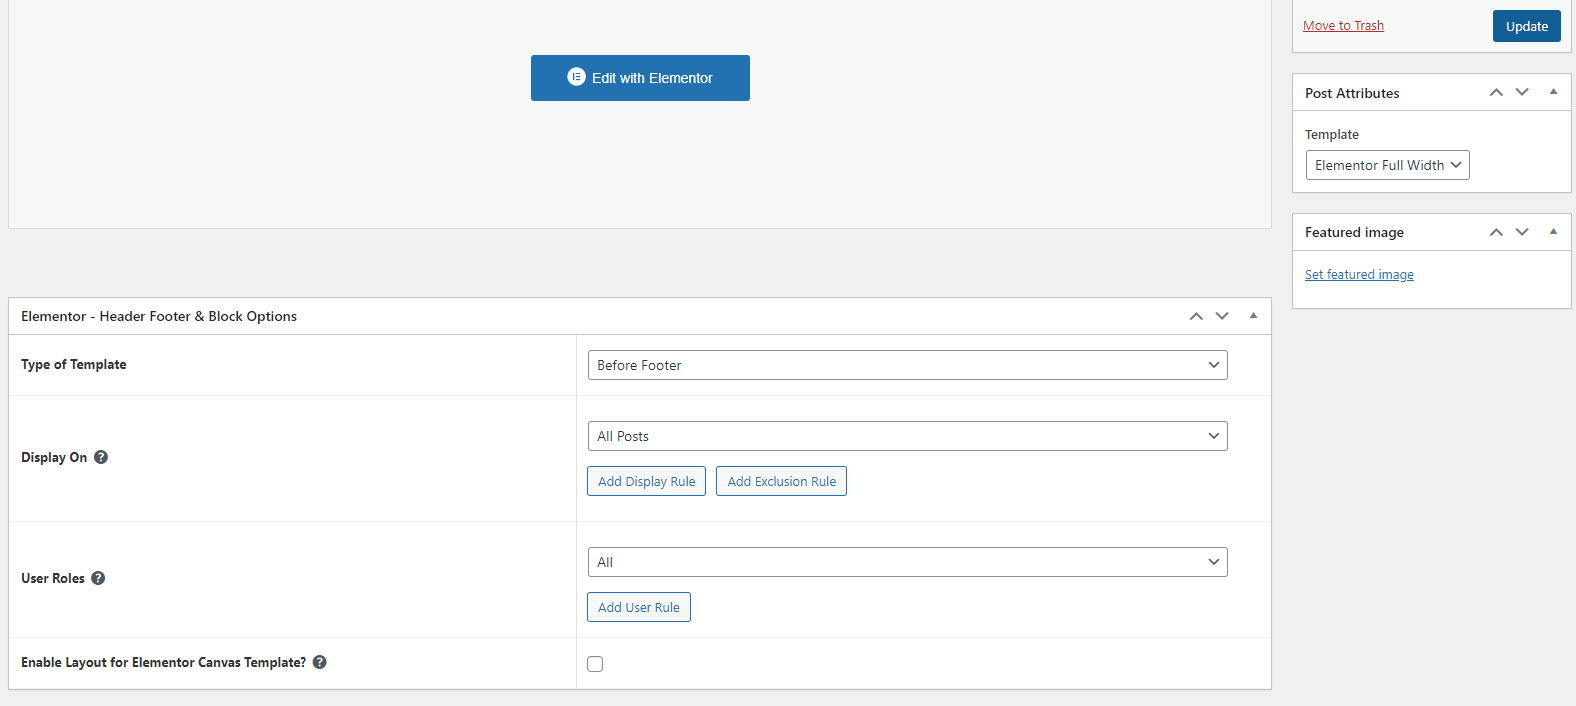
Once you add new and fill in the name Post Header, scroll down and fill in the following information.
Type of Tempate: Header
Display On: All Posts
User Roles: This is up to you.
Make sure the Template type under Post attributes is set to Elementor Full Width and then click on Edit with Elementor.
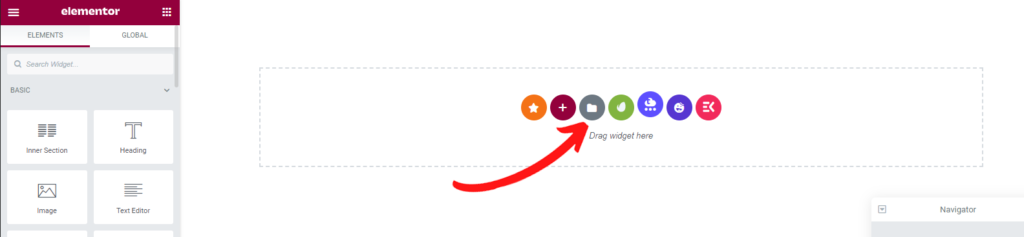
Once in the editing screen, you will go ahead and add the template called Post Header(click on folder icon and then go to My Templates).
Update & Publish!
How to set up404 Header
Go to your dashboard and under Appearance -click on Header Footer & Blocks. Click on Add New and create a template named 404.
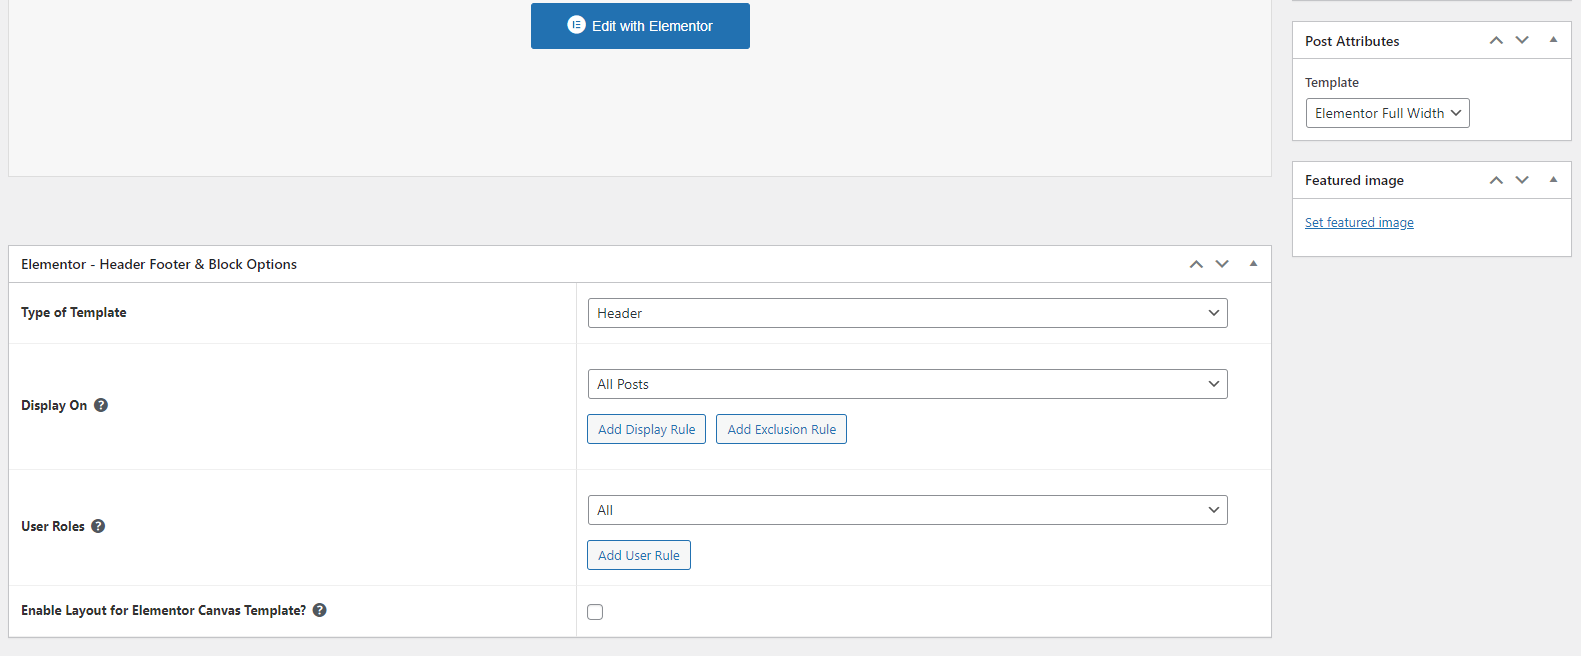
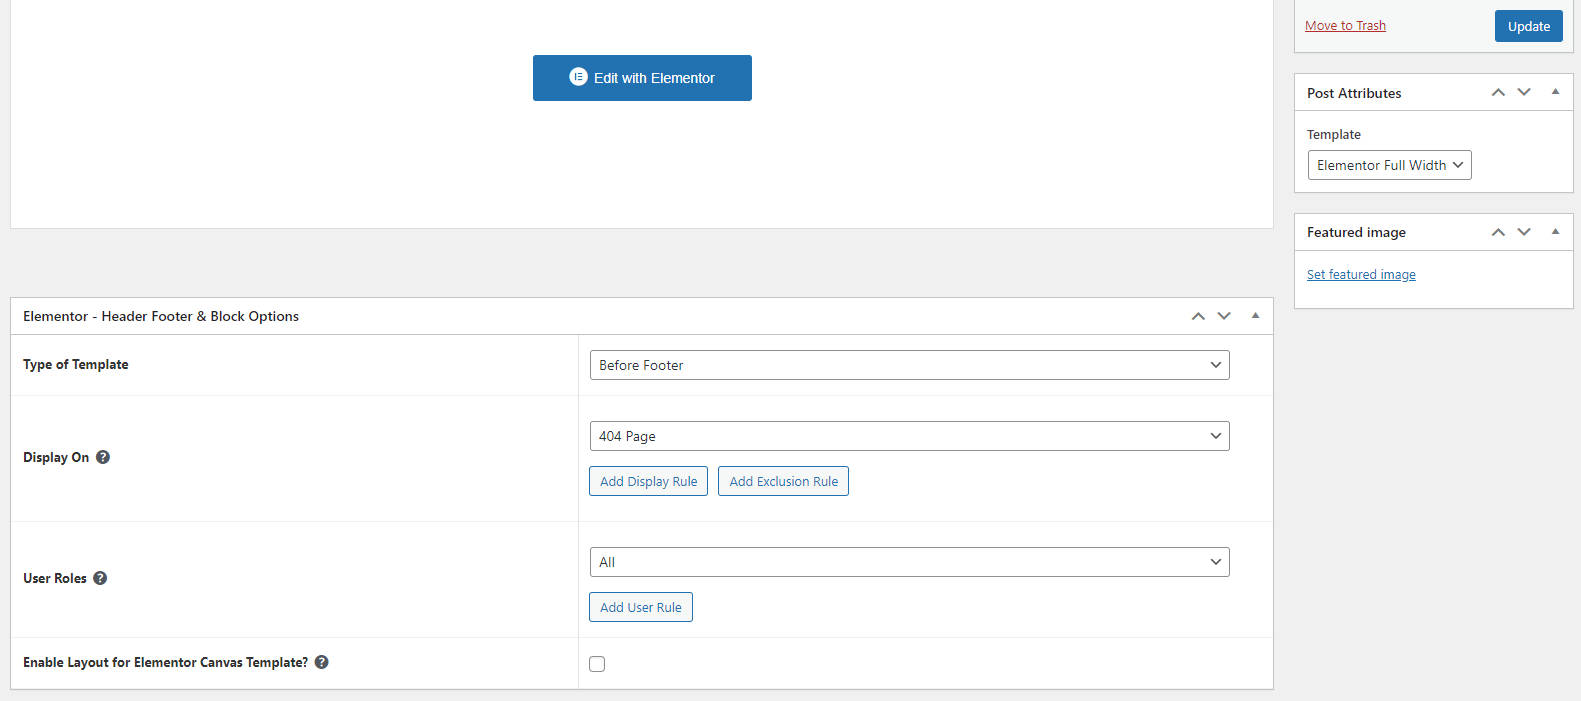
Once you add new and fill in the name 404, scroll down and fill in the following information.
Type of Tempate: Before Footer
Display On: 404 Page
User Roles: This is up to you.
Make sure the Template type under Post attributes is set to Elementor Full Width and then click on Edit with Elementor.
Once in the editing screen, you will go ahead and add the template called 404(click on folder icon and then go to My Templates).
Update & Publish!
How to set upHeader & Footer
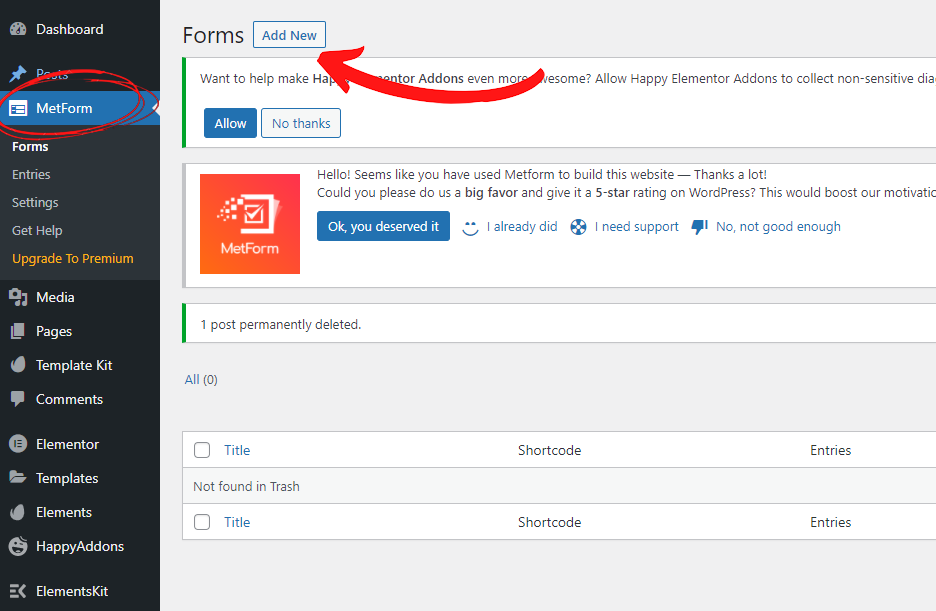
Once you have imported all the templates from the kit, go to your dashboard and click on MetForm. Click on Add New.
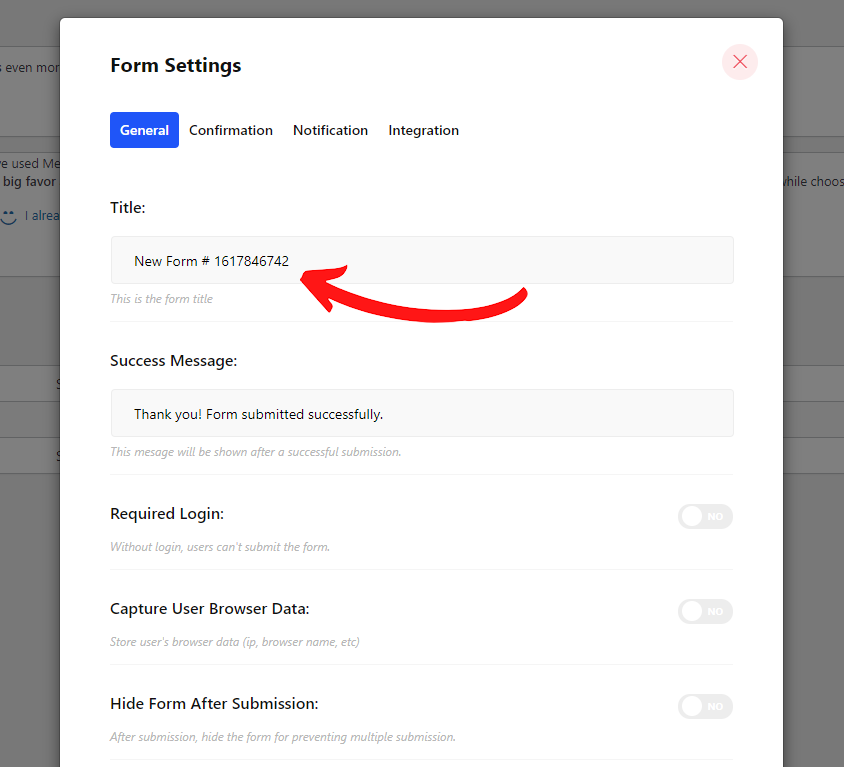
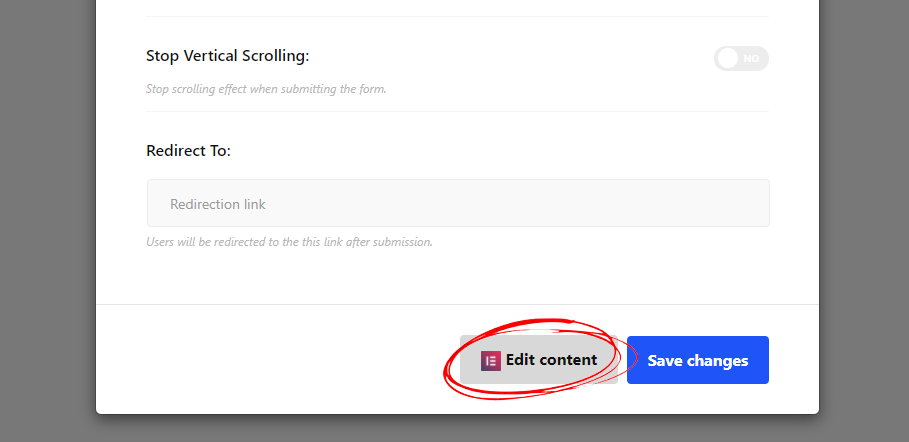
Change the name of the form to whatever you would like (ex: Main Contact Form) and then scroll down to the bottom and click Edit content.
Once in the editing screen, you will go ahead and add the template called Contact Form (click on folder icon and then go to My Templates).
Edit, Update & Publish!
Note: To add the form to a page, drag and drop the MetForm widget and then click Edit Form. Select the form you created from the drop list and then exit out. You can click edit form if you want to make changes but you don’t have to.